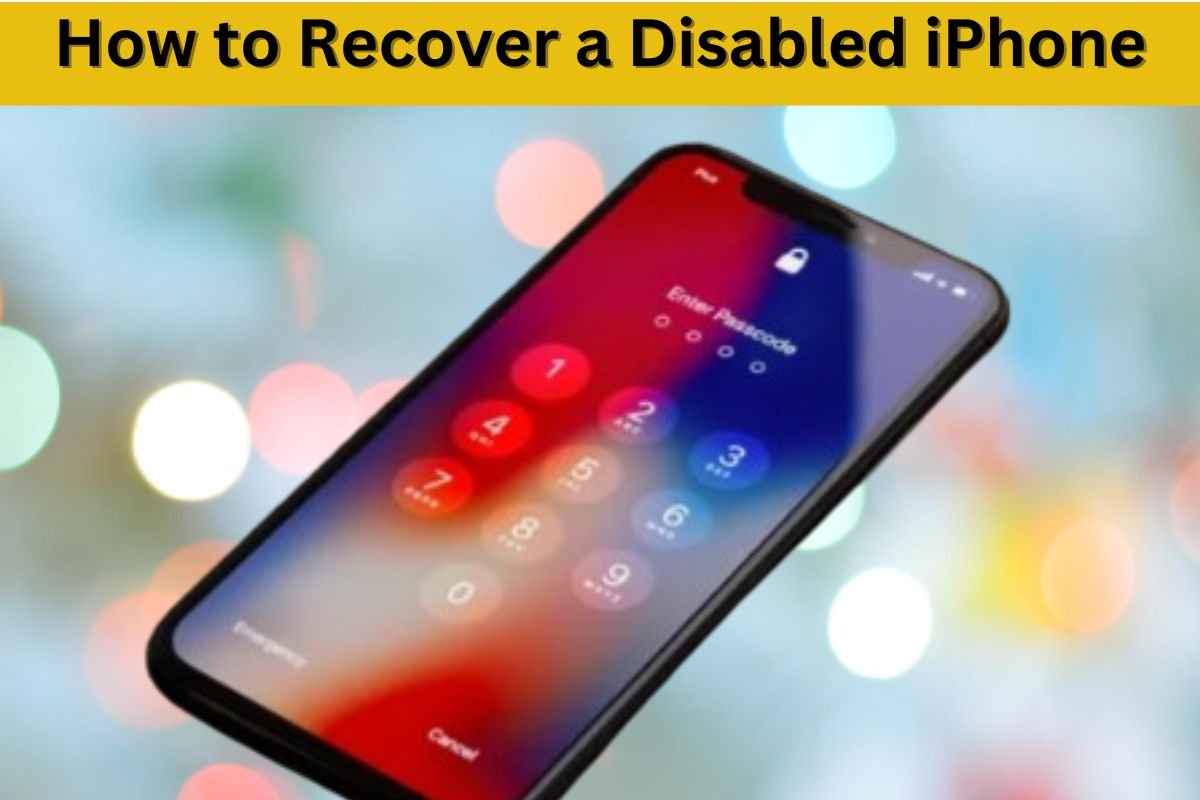
How to Recover a Disabled iPhone: When your iPhone becomes disabled, it can feel like you’re locked out of an essential part of your daily life. However, there’s no need to panic. This situation is usually the result of multiple incorrect passcode attempts, triggering Apple’s built-in security feature that disables the device to protect it from unauthorized access. Luckily, you can recover a disabled iPhone, restore access to your data, and get back to using your phone quickly. In this guide, we’ll walk you through all the steps needed to recover your device, ensuring you’re back in action as soon as possible.
Table of Contents
Why Does Your iPhone Get Disabled?
An iPhone becomes disabled when you or someone else enters the wrong passcode too many times. The first few incorrect attempts will lock your phone for a minute, but continued failed attempts will increase the time to several minutes or even an hour. Eventually, after 10 incorrect tries, the phone will become completely disabled, leaving no way to unlock it without erasing its contents.
Also Read: How to Clear Storage on an iPhone
Understanding Apple’s Security Measures
Apple has created a robust security framework to safeguard your data from unauthorized access. This includes disabling the device when there are too many failed passcode attempts, ensuring that only the owner, who has access to recovery tools like iTunes or iCloud, can regain control of the device. Unfortunately, this means that unlocking a disabled iPhone requires wiping it clean, removing the passcode along with all the device’s contents. However, if you’ve recently backed up your iPhone, either to iCloud or your computer, you’ll be able to restore everything after unlocking it.
What You’ll Need to Recover Your iPhone
To successfully recover a disabled iPhone, you’ll need the following:
- A Mac or Windows computer with iTunes installed
- A USB cable to connect your iPhone to the computer
- iCloud credentials (if using iCloud to unlock)
Whether you choose to use a computer or iCloud, we’ll explain both recovery methods step by step so you can choose the best option for your situation.
Step-by-Step Guide to Recover Your Disabled iPhone Using a Computer
One of the most effective ways to recover a disabled iPhone is by using a computer (either a Mac or Windows PC) with iTunes or Finder (for macOS Catalina and later).
1. Turn Off Your iPhone
To begin the recovery process, you’ll need to turn off your iPhone:
- For iPhone X, XR, 11, 12, 13, 14, or later: Press and hold the side button along with either volume button until the power off slider appears. Drag the slider to turn off the device, and wait at least 30 seconds to ensure it’s fully powered down.
- For iPhone SE (2nd and 3rd generation), 8, 7, or earlier: Press and hold the power button until the power off slider appears. Drag the slider to turn off the device, and wait 30 seconds.
2. Enter Recovery Mode
Recovery mode allows you to restore your iPhone by connecting it to a computer. The steps to enter recovery mode vary based on your iPhone model:
- For iPhone 8, X, SE (2nd and 3rd generation), or later: Press and hold the side button while connecting the phone to the computer.
- For iPhone 7 and 7 Plus: Press and hold the volume down button while connecting the phone to the computer.
- For iPhone SE (1st generation), 6s, or earlier: Press and hold the home button while connecting the phone to the computer.
Keep holding the respective button until the Apple logo appears, and then release it only when you see the recovery mode screen (a computer and cable icon will appear).
3. Connect Your iPhone to a Computer
Use a USB cable to connect your iPhone to a computer. Make sure iTunes is open if you’re on a Windows computer or macOS Mojave or earlier. On macOS Catalina and later, Finder will automatically detect the connected iPhone.
Also Read: How to Share Screen on FaceTime?
4. Restore Your iPhone
Once connected, iTunes or Finder will display a prompt asking you to choose between “Restore” or “Update.” Choose Restore to wipe the device and install the latest iOS software. This process will remove all data from your iPhone, including the disabled passcode.
When the restore process is complete, your iPhone will restart. You can now set it up from scratch and restore your data from a backup if one exists.
Step-by-Step Guide to Recover Your Disabled iPhone Using iCloud
If you don’t have access to a computer, you can use iCloud to erase your disabled iPhone remotely. However, this method requires that Find My iPhone is enabled on your device and that it’s connected to Wi-Fi or a cellular network.
1. Visit iCloud on a Web Browser
Open any browser and navigate to icloud.com/find. Sign in using your Apple ID credentials.
2. Select Your Disabled iPhone
Once you’ve logged in, select the disabled iPhone from the list of devices that are linked to your Apple ID.
3. Erase the Device
After selecting your iPhone, click on Erase This Device. Follow the on-screen prompts to confirm and initiate the erasing process. This action will wipe your iPhone clean, removing the passcode and all the data stored on it.
4. Set Up Your iPhone
Once the device is erased, it will restart as if it were new. You’ll go through the standard setup process and will have the option to restore your data from an iCloud backup if one is available.
Final Thoughts
A disabled iPhone can be frustrating, but by following the steps outlined above, you can regain access to your device with relative ease. If, for some reason, these methods don’t work, visiting an Apple Store or a certified third-party repair service should be your next step.
FAQs: Recovering a Disabled iPhone
Here are some frequently asked questions about recovering a disabled iPhone:
1. Why is my iPhone disabled?
Your iPhone becomes disabled after multiple incorrect passcode attempts. Apple’s security feature disables the device to prevent unauthorized access.
2. How many incorrect attempts does it take to disable an iPhone?
After six incorrect attempts, your iPhone will be disabled for one minute. With further incorrect tries, the time extends, and after ten attempts, the phone will be completely disabled.
3. Can I unlock a disabled iPhone without losing my data?
Unfortunately, no. To unlock a disabled iPhone, you must erase the device. However, you can restore your data from a recent backup once the device is unlocked.
4. How can I recover my iPhone if I don’t have a computer?
If you don’t have access to a computer, you can use iCloud to erase your iPhone remotely. This requires that Find My iPhone is enabled and that your device is connected to the internet.
5. What happens if I don’t have a backup?
If you don’t have a backup, you will lose all data on your iPhone after it is erased. Unfortunately, there is no way to recover the data without a backup.
How to Clean a Clear Phone Case?
6. How long does it take to restore an iPhone using iTunes or Finder?
The restore process can take anywhere from a few minutes to over an hour, depending on your internet speed and the size of the backup being restored.
7. Can I prevent my iPhone from being disabled in the future?
To avoid disabling your iPhone in the future, ensure you remember your passcode. You can also enable Face ID or Touch ID to reduce the need to enter your passcode frequently.
8. What if my iPhone doesn’t show up in iTunes or Finder?
If your iPhone doesn’t appear in iTunes or Finder, try using a different cable or port on your computer. You may also need to update iTunes or restart both your iPhone and the computer.
9. Do I need an Apple ID to use iCloud for recovery?
Yes, you must have an Apple ID linked to your iPhone to use iCloud’s Find My iPhone feature for remote erasing and recovery.
10. What should I do if I still can’t recover my iPhone?
If the above methods don’t work, it’s best to visit an Apple Store or contact Apple Support for further assistance. They can diagnose any hardware issues and provide professional recovery services.


