How to switch Apple ID: Switching between Apple IDs is a key skill for those managing multiple accounts, whether for personal use, work, or family sharing. Your Apple ID acts as a central access point for all Apple services, such as the App Store, iCloud, and Apple Music, making it essential to have a streamlined process for switching between accounts. This guide will walk you through the steps to switch Apple IDs on your iPhone, iPad, or Mac, while providing helpful insights and tips along the way. We’ll also answer some frequently asked questions to ensure you have a smooth experience.
Table of Contents
Why Switch Apple IDs?
Switching Apple IDs can be beneficial for many reasons, including:
- Separation of Work and Personal Accounts: Keep your professional data separate from your personal apps, subscriptions, and media.
- Family Sharing Management: Use different accounts for managing family purchases and shared content.
- Multiple Subscriptions: If you have different Apple services tied to separate Apple IDs, switching can help you easily manage them.
- Privacy and Organization: Maintain separate profiles for various aspects of your digital life, ensuring better organization and privacy.
Now, let’s dive into the step-by-step process to switch Apple IDs on different Apple devices.
Tools and Requirements
Before you start, ensure you have the following:
- An iPhone, iPad, or Mac: The device on which you want to switch the Apple ID.
- Your Apple ID credentials: Ensure you have the username and password for the account you’re switching to.
- Backup of Your Data: It’s recommended to back up your device to avoid any loss of important data during the process.
Step-by-Step Guide to Switching Apple IDs
The process for switching Apple IDs is similar across different devices, though we’ll focus primarily on iPhone and iPad, with additional steps for Mac users.
1. Sign Out of Your Current Apple ID
On iPhone or iPad:
- Open the Settings app: Navigate to the home screen and tap the Settings app.
- Tap Your Name: At the top of the screen, you’ll see your name and Apple ID. Tap on it to access your account settings.
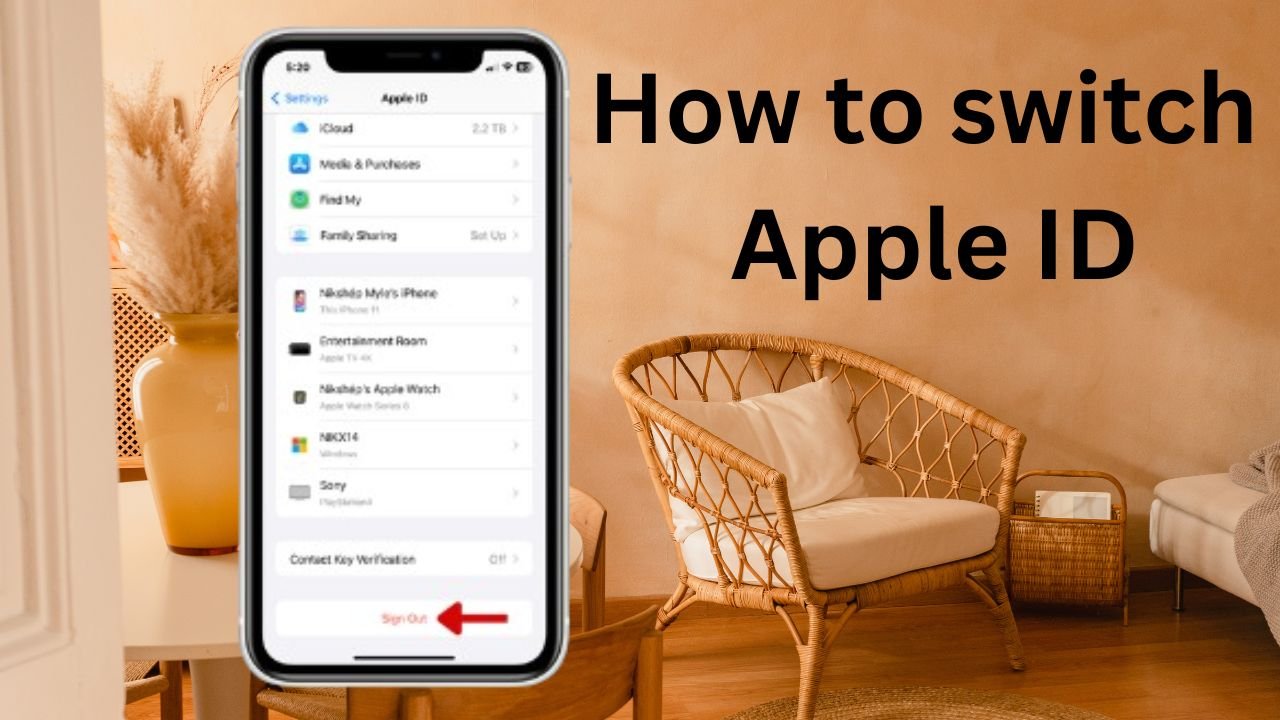
- Scroll Down to Sign Out: Scroll down to the bottom of the page, and tap Sign Out.
- Enter Your Password: You’ll be prompted to enter the password for your current Apple ID to turn off Find My iPhone.
- Tap Turn Off: After entering your password, tap Turn Off to disable Find My iPhone (or iPad).
On Mac:
- Open System Settings: Launch System Settings (previously System Preferences).
- Click Your Apple ID: At the top of the window, click your Apple ID profile.
- Select Sign Out: Scroll to the bottom and click Sign Out.
- Enter Your Password: Provide your Apple ID password to confirm the action and disable Find My Mac.
2. Choose Data to Keep on Your Device
After signing out of your Apple ID, you’ll be prompted to choose which data to retain on your device. You can toggle specific data categories, such as contacts, calendars, and Safari data, which will remain on your device after signing out.
- Toggle Data On/Off: Use the switches to decide which data you want to keep on your device.
- Tap Sign Out: Once you’ve selected the data to keep, tap Sign Out again to complete the process.
3. Sign in with a New Apple ID
Now that you’ve signed out, it’s time to sign in with a new Apple ID.
On iPhone or iPad:
- Tap Sign in to Your iPhone/iPad: This option will appear at the top of the Settings screen after you’ve signed out of the previous account.
- Choose Your Sign-In Method: You can either sign in Manually or use Another Apple Device for authentication.
- Sign in Manually: If you already have an Apple ID, enter your credentials (username and password) and tap Done.
- Use Another Apple Device: Follow the on-screen instructions to complete the sign-in process with another device.
- Create a New Apple ID: If you don’t have an Apple ID yet, tap Don’t have an Apple ID? and follow the prompts to create one.
- Enter Two-Factor Authentication Code: If you have two-factor authentication enabled, you’ll need to enter the verification code sent to one of your trusted devices or phone numbers.
On Mac:
- Click Sign in to Your Mac: After signing out, click the Sign In button in the Apple ID section of System Settings.
- Enter Your Credentials: Enter the Apple ID and password you wish to use.
- Two-Factor Authentication: Input the verification code if two-factor authentication is enabled.
4. Merge or Don’t Merge Data with iCloud
Once you’ve signed in with the new Apple ID, you’ll be asked whether you want to merge the data on your device with iCloud.
- Merge: Selecting this option will combine the data currently on your device (such as contacts and calendars) with the iCloud data from your new Apple ID.
- Don’t Merge: Choosing this will keep the data separate, ensuring that only new data gets synced with the new Apple ID.
After making your choice, your Apple ID will be fully switched on your device.
How to Recover a Disabled iPhone
Final Thoughts
Switching between Apple IDs can be an incredibly useful tool for managing different accounts, keeping work and personal life separate, and organizing data more efficiently. While the process is straightforward, it’s essential to back up your data beforehand and carefully decide which information you want to merge or retain. Now, with this guide, you should be able to switch Apple IDs with ease, whether you’re on an iPhone, iPad, or Mac.
FAQs about Switching Apple IDs
1. Can I switch Apple IDs without losing data?
Yes, you can switch Apple IDs without losing data. During the sign-out process, Apple will ask you to choose which data you want to retain on your device. Make sure to toggle on the apps and data you want to keep.
2. Will switching Apple IDs affect my subscriptions?
When you switch Apple IDs, any subscriptions tied to your previous Apple ID will no longer be active on the new account. You will need to manage subscriptions separately or re-subscribe using your new Apple ID.
3. What happens to my iCloud data when I switch Apple IDs?
Your iCloud data, such as photos, contacts, and calendars, is tied to your Apple ID. If you choose to merge data when signing in with a new Apple ID, it will combine your device data with the iCloud data from the new account. If you don’t merge, your iCloud data from the previous account will remain separate.
4. Can I use multiple Apple IDs on one device?
While you can only be signed into one Apple ID at a time for most services like iCloud and the App Store, you can use different Apple IDs for certain services, such as iTunes purchases and iCloud storage, on the same device.
5. Will my apps disappear when I switch Apple IDs?
No, your apps will not disappear when you switch Apple IDs. However, updates for apps purchased with the old Apple ID will require you to sign back in with that ID to download updates.
6. Do I need to disable Find My iPhone to switch Apple IDs?
Yes, you need to disable Find My iPhone before signing out of your Apple ID. This step is required for security reasons and helps protect your device from being erased or tracked by unauthorized users.
7. How often can I switch Apple IDs?
There are no strict limits on how often you can switch Apple IDs, but switching frequently can cause inconvenience, especially with syncing data and managing subscriptions.
8. Can I merge two Apple IDs?
No, Apple does not provide a way to merge two Apple IDs. You will need to manage each account separately.
9. Can I share apps between two Apple IDs?
Yes, you can use Family Sharing to share apps, music, and subscriptions between different Apple IDs. This feature allows you to access purchases from multiple accounts without switching Apple IDs.
10. What should I do if I forget my Apple ID password while switching?
If you forget your Apple ID password, you can reset it by following the password recovery steps on the Apple ID account page or through the Settings on your device. Make sure to have your recovery email or phone number available.
By following the steps outlined in this guide and understanding the nuances of switching Apple IDs, you can confidently manage multiple accounts and enjoy a seamless Apple experience.


